How to Sell on Amazon with an Individual Seller Account
When you sign up for an Amazon seller account you’re faced with a choice: register as an individual seller or be a professional seller. Both have their pros and cons, so it’s important to know how each account works before making your choice.
In this article, we’ll be discussing all of the aspects of setting up an individual seller Amazon account. We’ll go over what it is, what you can do with it, how it compares to a professional account, and how to sign up for one.
Table of contents
Why Sign Up as an Individual Seller?
Why would anyone choose an individual account? There are actually a number of scenarios where having an individual account makes more sense.
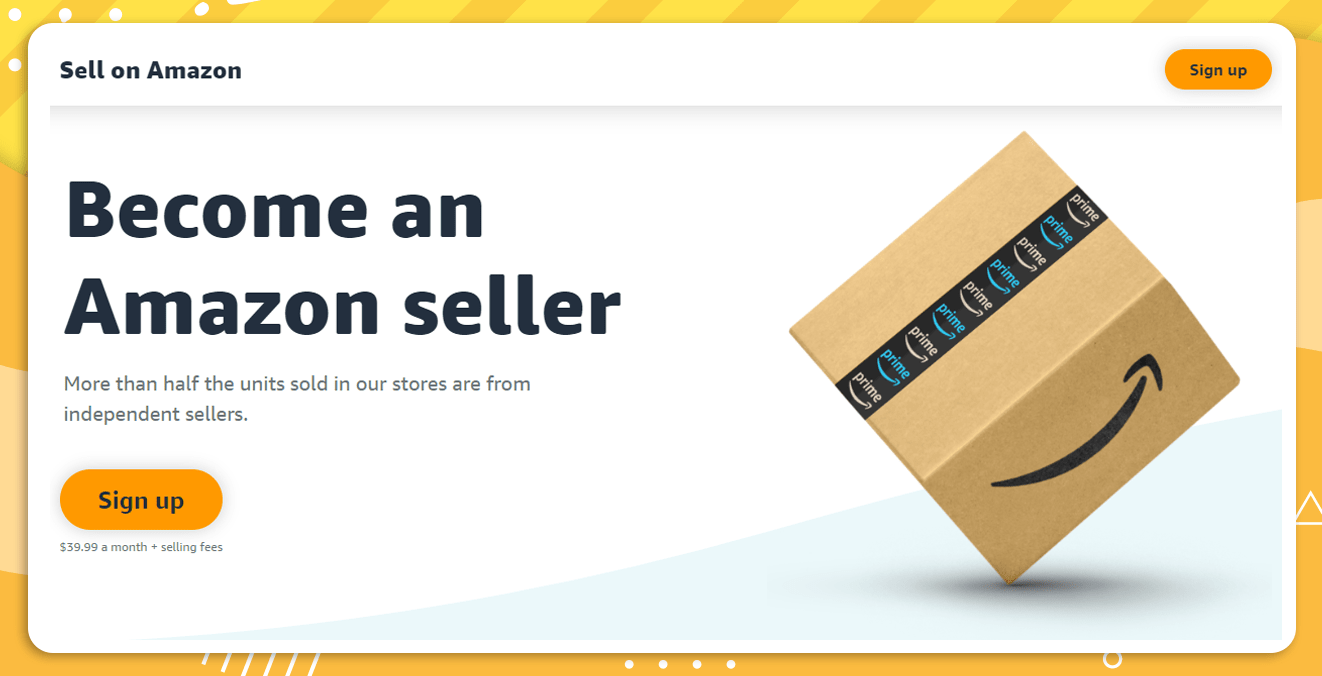
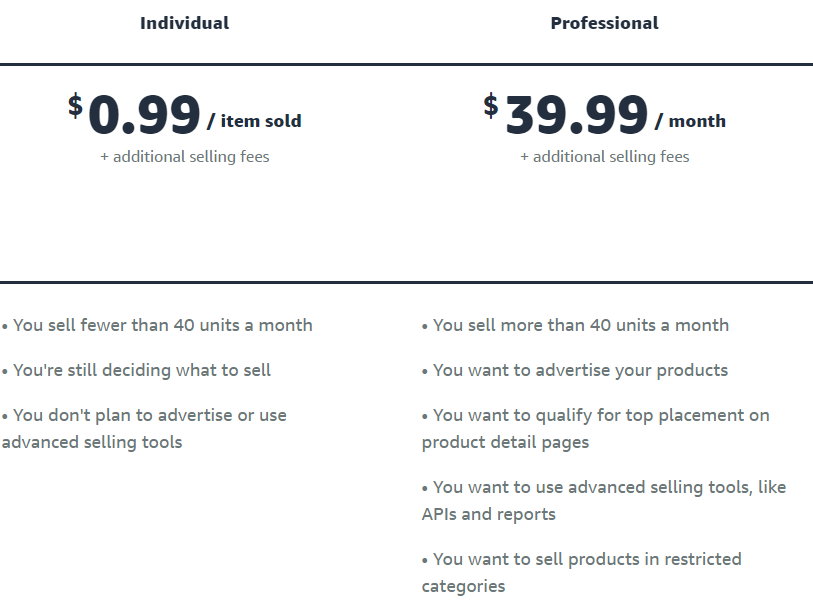
You Can’t Afford the Monthly Fee: Not everyone is in a position to pay $39.99 every month, at least not to start. You may choose to start with a free account until you’re making enough money to afford a professional account.
You’re Just Trying Out Selling on Amazon: If you’re just experimenting with selling on Amazon and aren’t super serious about it then an individual account is probably for you. That way you can test out the platform without having to pay the subscription price.
You Don’t Plan to Sell A Lot of Items: If you think you’ll sell fewer than 40 products a month an individual account will save you money, even after all the $0.99 fees.
Generally speaking, if you’re a new seller or someone who just sells a few individual items here and there, this is the account type for you.
When An Individual Account isn’t Right For You
While there’s nothing wrong with using an individual account, in some cases it is more beneficial to have an Amazon professional seller account, which we will discuss more later:
You’re Selling a Lot of Items: Once you start selling more than 40 products a month it’s actually cheaper to switch to a professional account. This is because you’ll stop paying the $0.99 per sale fee and your costs will be capped at $39.99.
You Want to Use Amazon Ads: Only professional sellers can create Amazon Ad campaigns.
You Want to Sell in a Restricted Category: Only professional sellers can sell in gated categories. While there’s an application process, if you get approved there are plenty of opportunities. If this is something you’re interested in an individual account won’t work for you.
You Want More Data: Individual sellers only have access to a limited amount of inventory data.
You Want to Scale Your Business: The $0.99 per sale fee and reduced features really hinder your ability to scale your Amazon business. If you’re serious about making selling on Amazon your full-time income then you’ll want a professional seller account.
Basically, if your goal is to build and scale a large Amazon business an individual account probably won’t cut it.
How to Sell on Amazon as an Individual
Whether you’re selling as an individual or professional the process is more or less the same. Here are the steps we recommend you take:
1. Find Ideas
There are millions of items on Amazon, which means finding the right product can take a long time. If you want to speed up the process use the AMZScout Product Database. This search tool includes filters such as sales, reviews, price, and weight to help you narrow your search to only the items that meet your criteria.
Step 1: Go to the AMZScout Product Database. No installation is required.
Step 2: Start your free trial. You don’t need to enter payment information, just your email.
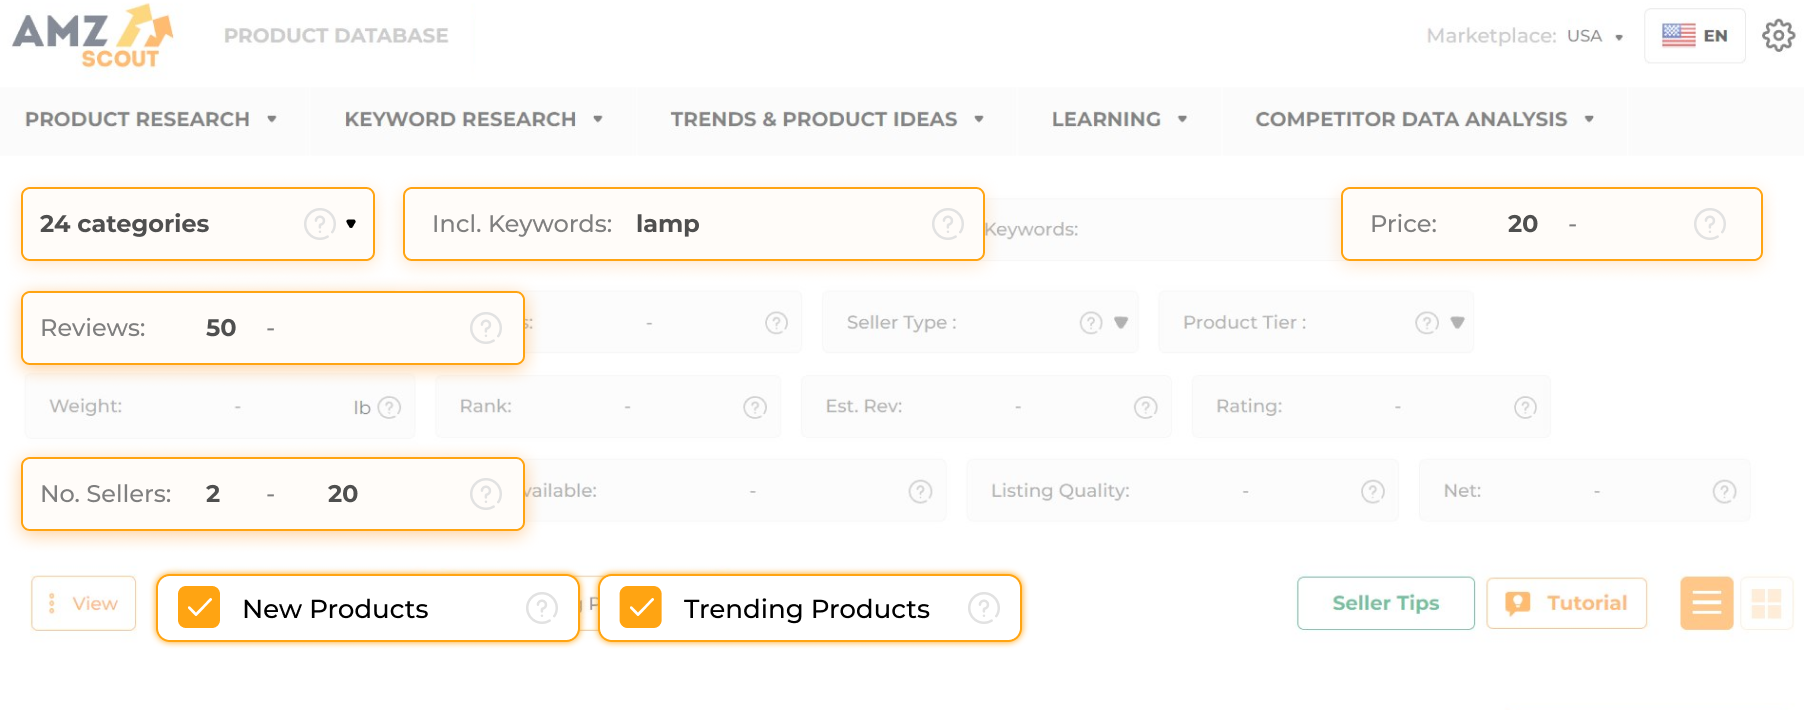
Step 3: Use the filters to refine your search criteria. Filters allow you to focus on finding the best products. Focus on these characteristics for the best results:
You can set counts to 300 sales per month (minimum) to check for products with strong demand.
Less than 100 customer reviews. Lower review counts give you a better chance to be competitive.
Optimum sales pricing is usually between 30 and 70 dollars. This is low enough to push impulse buying but not too high to discourage buyers.
You can also choose which category, seller type, or keyword (in the search bar) to target.
Step 4: Focus your attention on booming trends. Check both the New Products and Trending Products boxes. New products tell you what came out recently. Trending products tell you about sales growth within the last one to three months.
Step 5: Click “Find Products” to process results.
Step 6: Make lists of items you’re most interested in selling. Each item needs to consider important stats (like sales and reviews) to assess product viability
By following the steps above, you’ll be able to better determine the best items you can sell. The AMZScout Product Database helps speed your product research process.
2. Choose a Product to Sell
After getting a general idea of product ideas, you need to take further steps. The more defined your research process is the higher your chance of making good money.
There are three main factors to consider:
Demand: How popular is the product? Is it generating sales?
Competition: How many other sellers are offering the item? If there’s too much competition you’ll have a hard time getting found by customers, especially if you’re a new seller.
Profit Margins: Can you make enough money on each sale? If you only make a few dollars in profit every time you sell something it’s going to take a long time to reach your sales goals.
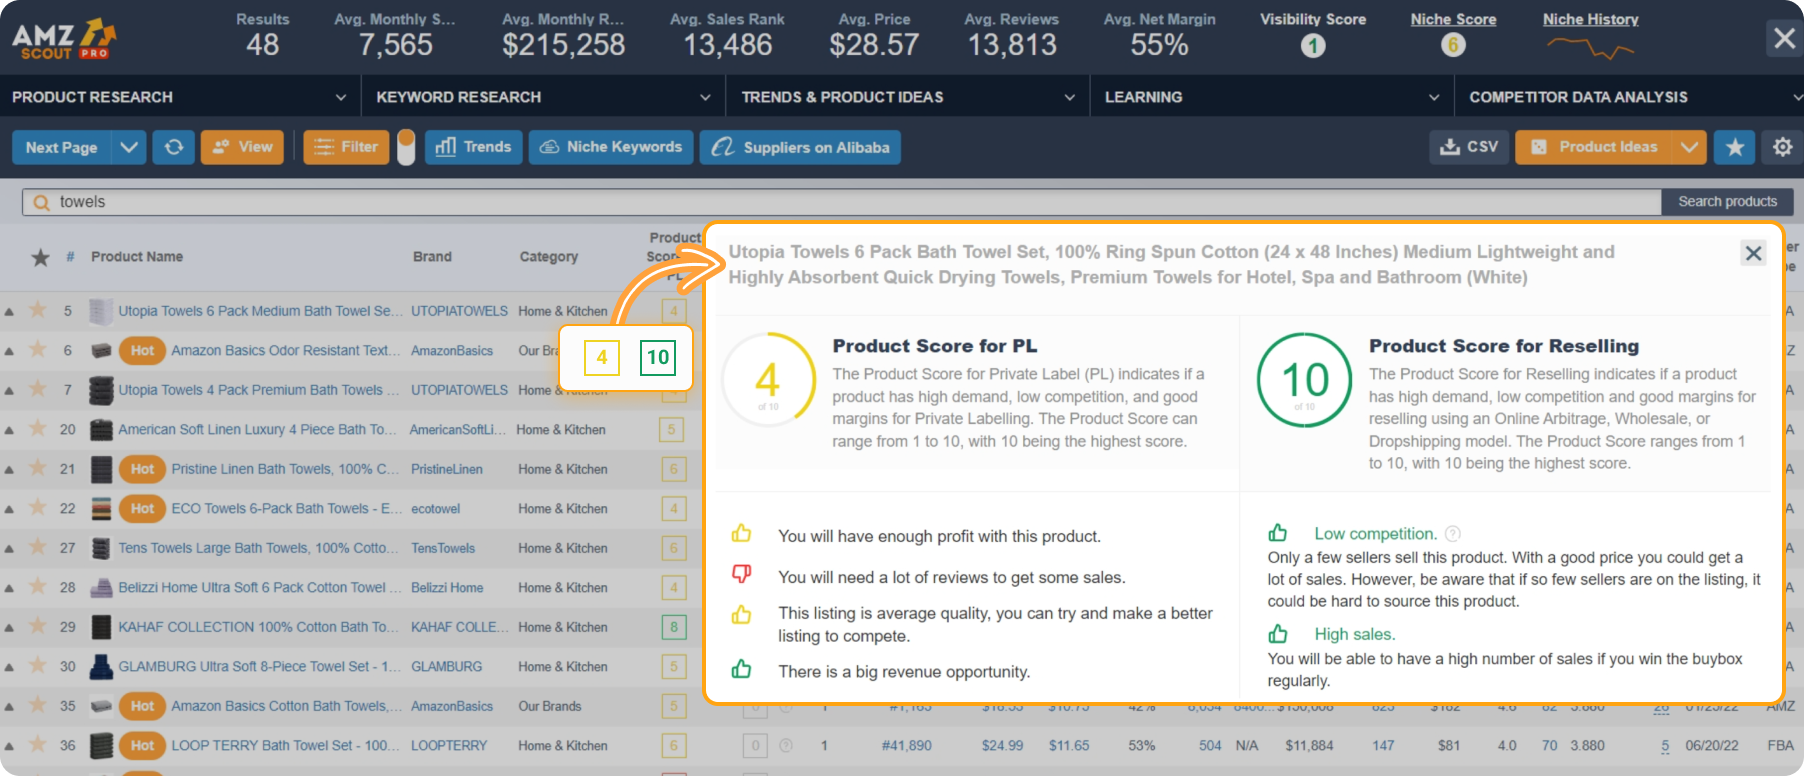
AMZScout’s PRO Extension helps you easily measure each of these metrics. It gives you access to a wide range of data, including average monthly sales, average reviews, competition levels, profit margins, sales history, and more.
Step 1: Click here to get the AMZScout PRO Extension. You’ll see an AMZScout icon in the upper-right corner once the installation is finished.
Step 2: Browse Amazon for product options. Either use the information you found from the database or enter new product searches on the Amazon.com search bar.
Step 3: Open the extension. Click the AMZScout icon (top-right corner of your web browser).
Step 4: Check the quality of your target niche and product. Click on Niche Score on the top dashboard and Product Score near each product. From here, you can analyze niche and product profits, demand, and competition.
Step 5: Calculate the product/niche demand. Check the monthly sales of the niche and each particular product. Pay close attention to products that sell more than 300 per month.
Step 6: Check for review numbers.
If selling existing branded products along with other sellers, look for items with lots of positive reviews.
If launching your unique brand, more reviews in a niche makes it more difficult to overcome competitors.
Step 7: Check the historical data for sales. Click on Niche History to analyze the trends of a niche. You can also click Product History to see historical data for individual products. This will help you determine a better sales strategy based on sales, rank, and price fluctuations.
The AMZScout PRO extension provides you with actionable data to select the best niche and product. Through the steps above, you can quickly narrow down the best potential products you want to list.
Get a List of Profitable Items According to Your Specific Needs
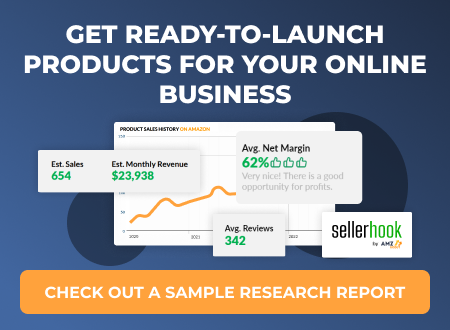
If you're looking to streamline the process of finding a product, you can opt for specialized services like those available from Sellerhook. Using innovative AI, Sellerhook’s team of researchers will create a list of winning products based on your specific requirements, and generate a detailed product research report just for you.

How to Sign Up for an Individual Seller Account
The next step is to sign up for an individual account. Here’s how to set up your account:
Go to Amazon.com and select “Sell” from the main menu.
Scroll down and click “Sign up to become an individual seller.”
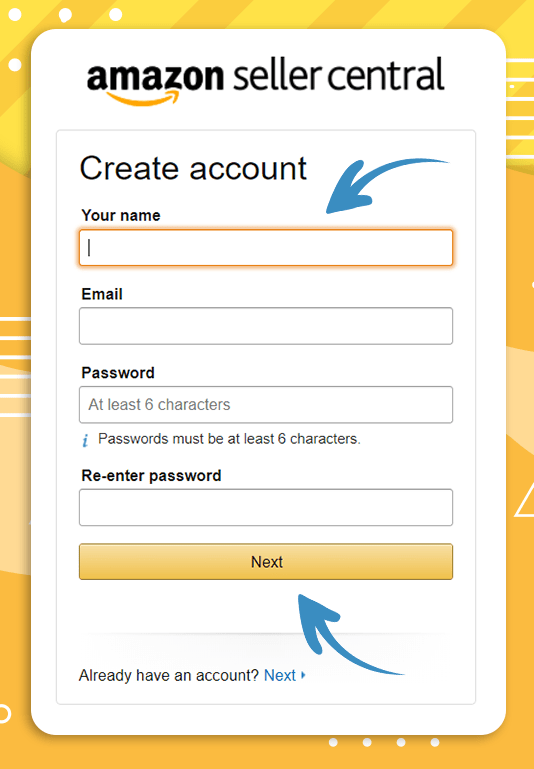
Enter your name and email, and choose a password for your account.
Go to your email, retrieve the one-time password sent to you by Amazon, and enter it to verify your email.
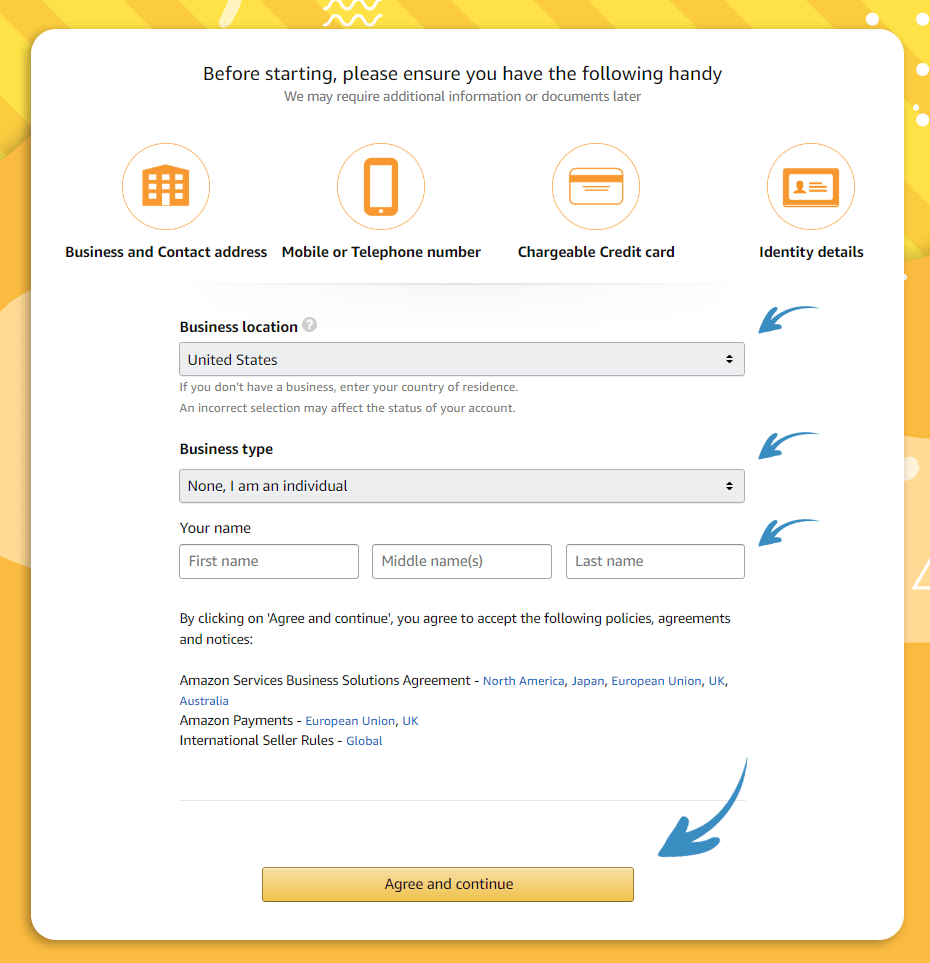
Enter your location and business type, then click “Agree and continue.”
Fill in your personal information, including your birthday and address.
Enter your passport or driver’s license number.
You’ll need to verify your phone number. Enter your phone number and then choose to receive your code via SMS or phone call. Once you receive your code enter it and then click “Next.”
Enter your credit card information, then click “Next.” Your card will only be charged if you ever have a negative settlement balance.
Choose a name for your store (You can change this later if you wish).
Indicate whether you have UPC codes for your products, or if you’re the manufacturer for your products. For the UPC codes, just select “No,” unless you already have products and their UPC codes. If you’re planning on creating a private label brand click “Yes” to say you’re the manufacturer. Otherwise, just click “No,” then click “Next.”
Upload a photo of your passport or driver’s license.
Upload a photo of your bank statement or credit card statement.
Submit your documents for verification.
It usually takes Amazon three days to verify seller accounts. Once your account is verified you’ll receive an email with details about how you can log in to Seller Central.

4. List Your Products
To list your products, you have two options: First, you can click the “Sell on Amazon button” if adding to an existing listing (e.g., selling for existing brands and products via dropshipping, wholesale, or arbitrage). Otherwise, your second option is to create a new listing (e.g., if nobody else is selling the product or you created a new brand).
Building a good listing is critical to being a successful Amazon seller. Not only will an optimized listing generate more sales, but it will also help you show up in more search results.
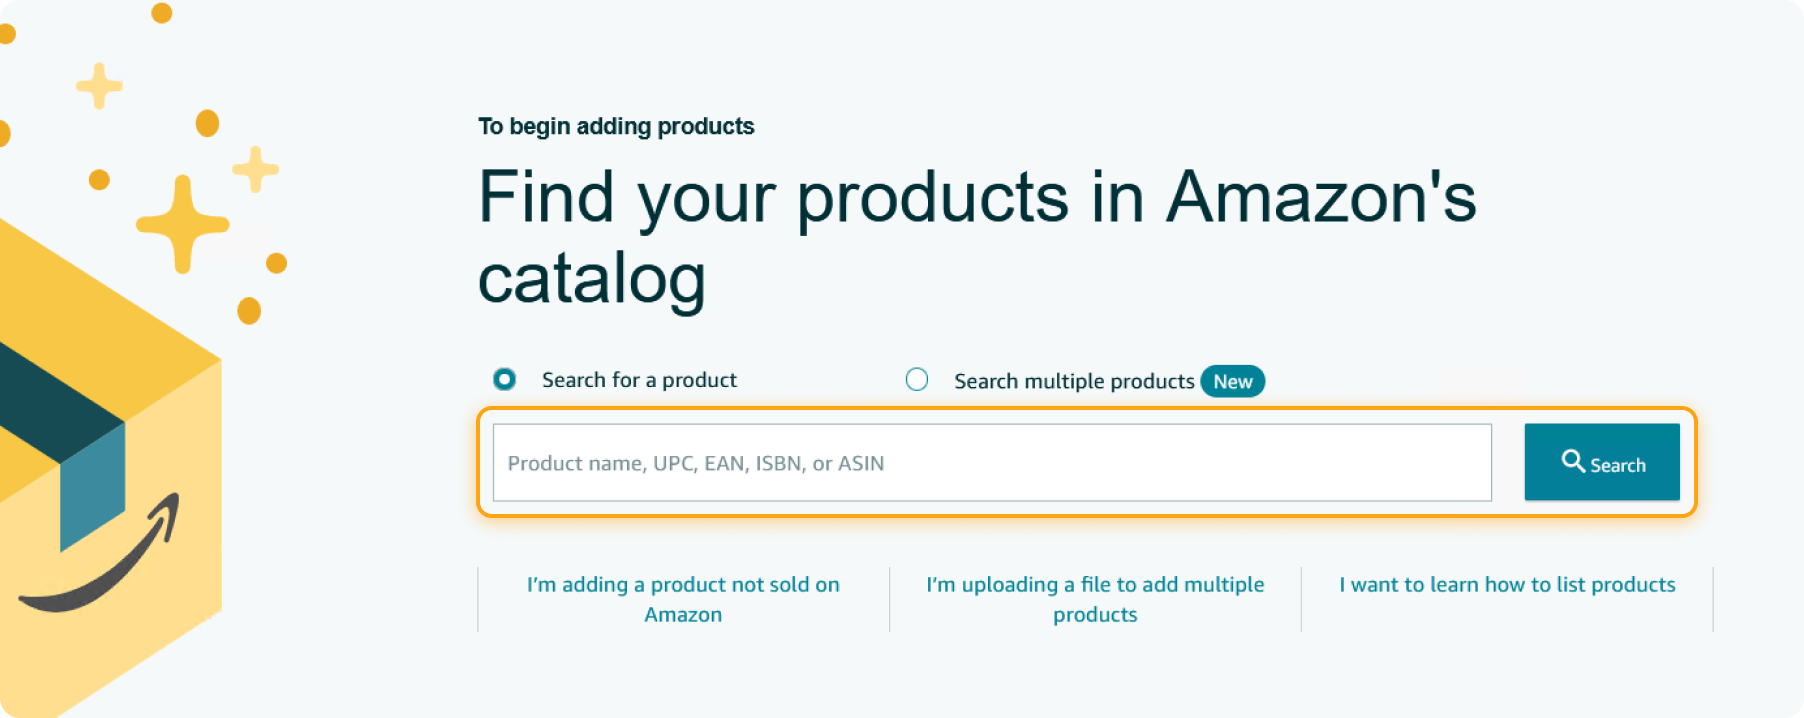
To create a new listing, go to “Inventory” and click “Add a Product.” Search for your product name or ASIN. If you find your item there is already a listing for it on Amazon. Select that product and you’ll be added to the listing.
If your item doesn’t show up you’ll have to build a new listing. Here are three tips for creating effective Amazon listings:
Use High-Quality Photos: Customers can’t pick up and try out your products when you sell online, so they need to rely on your photos. Make sure your images are HD quality and well-lit. You should also include multiple photos that highlight all your item’s features.
Include Detailed Product Descriptions: Include as much information about your product as possible to answer your customer’s questions. Focus on the benefits to show people how your item will make people’s life easier/better/more fun.
Use the Right Keywords: Insert relevant keywords into your listing’s title and description so you show up in more searches. Use tools like AMZScout’s Keyword Search and Reverse ASIN Lookup to discover the best search terms for your product.
Don’t rush your listing. Take your time and review it before submitting to ensure it includes everything necessary to generate sales.
5. Decide How You’re Going to Fulfill Orders
Finally, you need to choose a fulfillment strategy. This is the method you’ll use to pack and ship orders once you receive them. You have two options:
Fulfillment by Merchant (FBM): You store all your own inventory, and when an order is received you pack and ship the item to the customer.
Fulfillment by Amazon (FBA): You send all your products to Amazon and they store them in their warehouses. When someone buys one of your items they fulfill the order for you.
If you use FBA you’ll pay some additional fees on each sale (storage and fulfillment fees), but it’s a lot more convenient. That being said, if you’re only selling a few products here and there (like five books a month for example) it’s probably more cost-effective to ship your own orders.
Individual vs Professional Seller Accounts
The one question you probably have is, “What’s the difference between an individual account and a professional one?” While both allow you to sell on Amazon there are some key differences you need to be aware of:
Individual Seller Account
An individual account lets you do all the basics, including listing items on the marketplace and fulfilling orders through Fulfilment by Amazon (FBA).
But how much does it cost? Well, that’s the cool part. It’s free, sort of.
You don’t pay any monthly fees with an individual account, but you do pay $0.99 every time you make a sale. While this doesn’t seem like a lot it adds up over time. There are also some restrictions to consider. Individual sellers can’t:
Get access to in-depth inventory reports
Sell products in restricted categories (health, beauty, grocery, jewelry, etc.)
Promote items with Amazon Ads
Create bulk listings
Add additional users to their account
Customize shipping rates
While these limits are annoying it’s still possible to build a profitable side business with an individual account.
Professional Seller Account
The main difference between an individual account and a professional one is the cost. Professional sellers pay $39.99 per month, but they don’t have to pay the $0.99 fee for every sale.
On top of that, a professional account gives you access to all of Amazon’s selling features. You can see detailed inventory statistics, sell products in any category (assuming you’re approved), run Amazon Ad campaigns, set your own shipping rates, and more.
Because of this, larger businesses and high-volume sellers almost exclusively have professional seller plans.
How to Switch from an Individual Account to a Professional Account
After you sell as an individual for a while you may decide that you want to switch to a professional account. Luckily, there’s an easy way to do that:
Open Seller Central.
Click “Settings.”
Select “Account Info.”
Next to “Your Services” click “Manage.”
Click “Upgrade.”
Click “Proceed.”
You can follow the same process to switch back to an individual seller at any time.
Conclusion
Selling as an individual is a great way to get started on Amazon and learn how to make money with eCommerce. Just make sure to do proper product research and use the right tools to give yourself the best chance at success.
