The Ultimate Amazon Product Photography Guide for Sellers
Good Amazon product photography is one of the best ways to promote your items on the platform. Quality images can be the difference between your products selling like crazy and no one wanting to buy them.
So, why are photos on Amazon so important and how can you make sure your images meet all of their criteria?
We’ve covered all of that and more here in our Ultimate Amazon Product Photography Guide. Keep reading to become a product photography expert.
Table of contents
Why Are Images So Important on Amazon?
When you shop at a brick and mortar store you get to see all the products in person. You can look at them, pick them up, and test them out to help you decide whether or not you want to buy them. Unfortunately, you don’t have this option when you shop online.
On Amazon, all you have to go off of is the photos. This makes having good quality images extremely important.
Think about it, would you buy an item if the pictures were too blurry to see what it really looks like? Of course not. Simply put, the better your images the more successful you’re going to be.
By using high-quality product photography you will:
Get More Traffic on Your Listings: If your images are eye-catching and intriguing it will encourage more people to click on your listing.
Get More Sales: Having multiple photos of your product from different angles that show all the features makes people feel more comfortable buying from you.
Reduce the Number of Negative Reviews You Receive: Quality images educate your buyers about what they’re buying and lets them know what to expect from your product. This leads to fewer negative reviews for your items.
Your Amazon marketing starts with great photos, so make sure to take the time to do it right.
Amazon Image Rules and Guidelines
Amazon has certain standards for its product listings, and that includes photos. These rules apply no matter where you’re selling (USA, China, India, etc.)
They do this partly to maintain the level of quality on their site, but it’s also because they know what works. Remember, Amazon makes money off your sales too, so it’s in their best interest to help you sell your items.
While it may be annoying to make sure your pictures conform to their guidelines it’s worth it, because more often than not their guidelines are in place to help you sell more.
With all that being said, here’s a list of all the requirements for Amazon images:
Technical Requirements
Only the following file formats are allowed: TIFF (.tif/.tiff), JPEG (.jpeg/.jpg), GIF (.gif) and PNG (.png).
Images must adhere to the size and dimensions requirement: at least 1000 pixels in either height or width.
Images must use sRGB or CMYK color mode.
File names must use the following format: the product identifier (Amazon ASIN, 13-digit ISBN, EAN, JAN, or UPC) followed by a period and the appropriate file extension (Example: B000123456.jpg or 0237425673485.tif).
Contextual Requirements
In addition to the technical requirements, there are a number of other criteria your images will need to meet.
Here are the criteria for your main product image (the photo that appears in Amazon search results and the first one to appear on your listing):
No Illustrations: This may seem obvious, but the photo you use must actually be a photo. A drawing or illustration of the product is not allowed.
No Other Objects Present: The photo should only be of the product. No other items should be present in the image as it confuses the buyer and may make them think the other objects are included.
In Focus and Lit: This basically just refers to the quality of your pictures. They need to be in focus, well-lit, and use realistic colors. Some editing is fine but your photos need to represent the way your products look in real life.
The Product Should Fill the Frame: Books, music, and video images need to fill 100% of the frame. All of the items must fill 85% of the frame.
The Entire Product Must Be Visible: Main images must show the whole product in the frame. No part of the item should be cut off.
White Background: The background of your photo needs to be completely white.
No Text or Graphics: The photo cannot contain any additional text or graphics that have been added in during the editing process.
No Offensive Imagery: This should go without saying but any pornographic or offensive images will be rejected.
For your other images, some of the requirements are different to give you a little more flexibility:
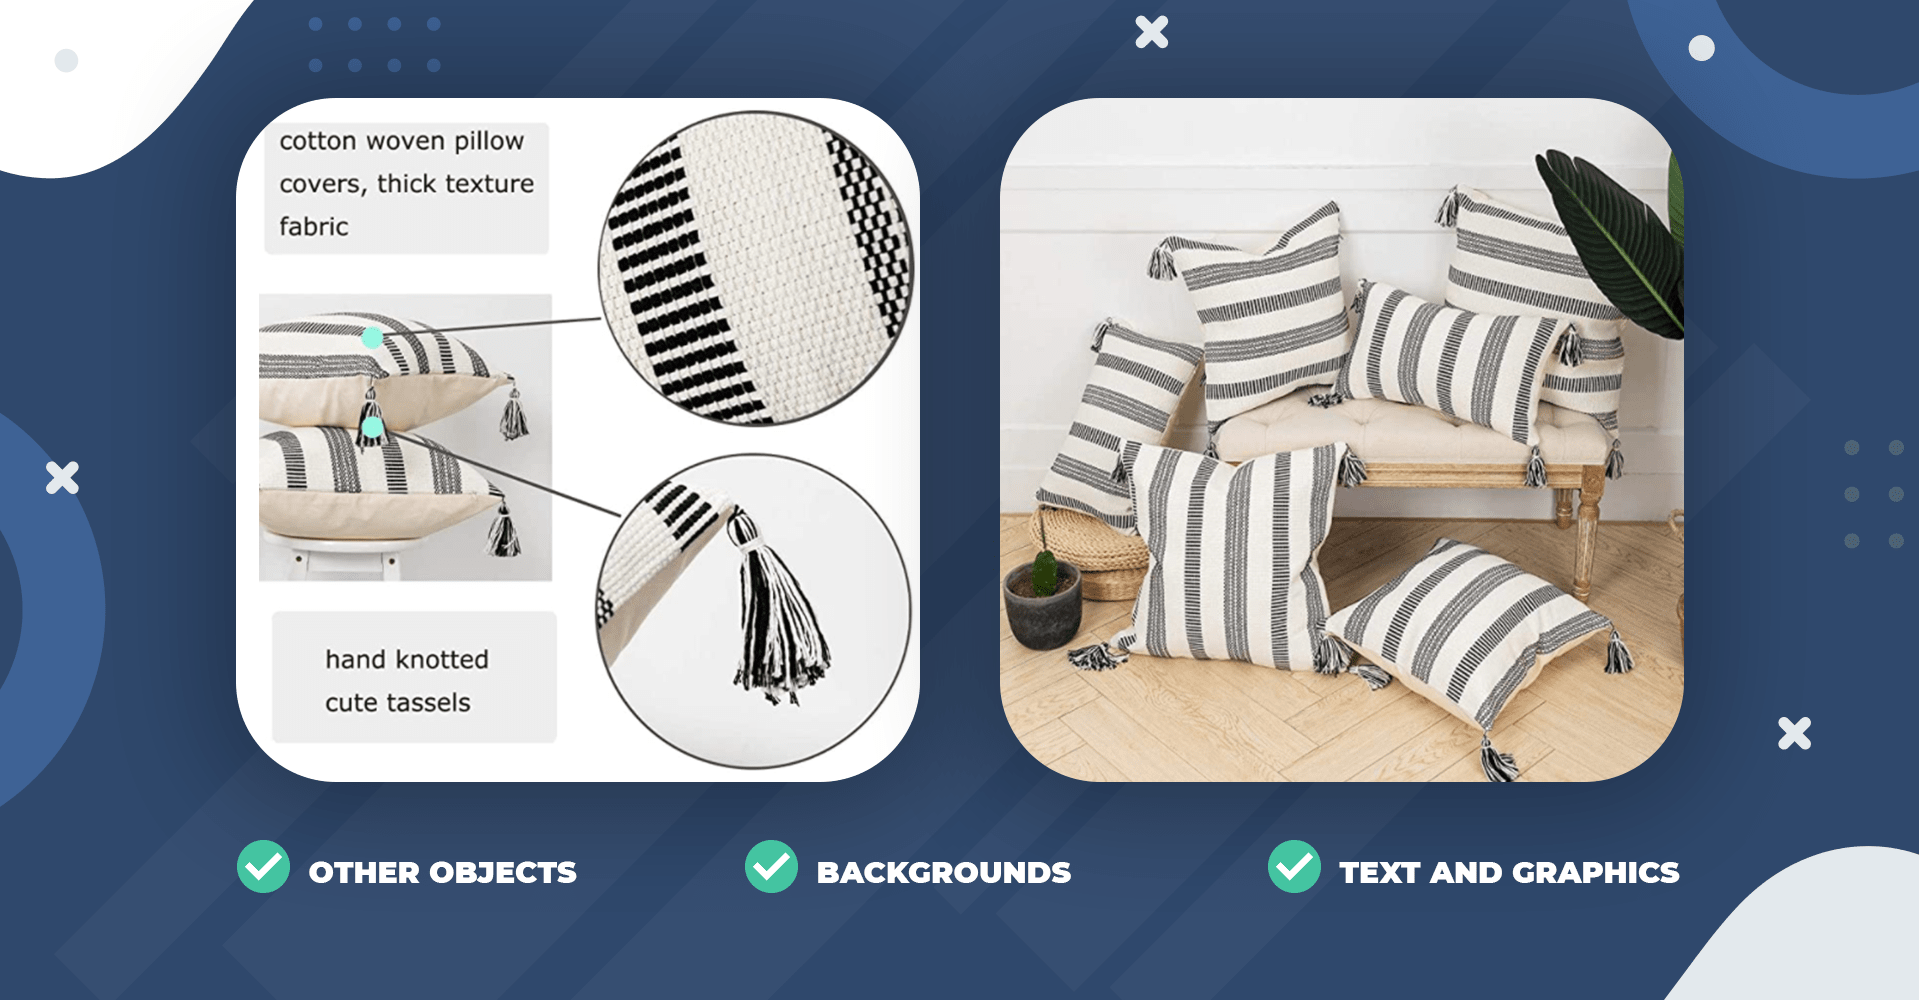
Other Objects are Allowed: You can include other objects, or use models, to help demonstrate how a product is used.
Cropped Images: You can use cropped and zoomed-in images to show specific product features.
Backgrounds: Backgrounds other white are allowed.
Text and Graphics: You can include text and graphics in these photos to help explain various features and uses.
If your images don’t follow all of these requirements they’ll be rejected and you’ll have to edit/reshoot them and then submit them again.


How Do You Get Good Product Images?
Ok, so by now you realize just how important quality product photography is. Next, we’re going to go over all the ways you can acquire the images you need to sell your products effectively.
You have three options:
Get Them From the Manufacturer or Supplier
If you’re buying existing products from a manufacturer or supplier they’ll likely already have photos that you can use. However, that doesn’t mean the images will be good. Manufacturers and suppliers aren’t always the best marketers and it’s possible the photos they give you won’t be up to your standards.
It’s also possible that while the pictures are decent they don’t meet Amazon’s requirements, so make sure to check that before using them.
It’s definitely worth asking for photos if they have them, but if you aren’t happy with what they give you then don’t hesitate to redo them yourself.
Hire Professional Services
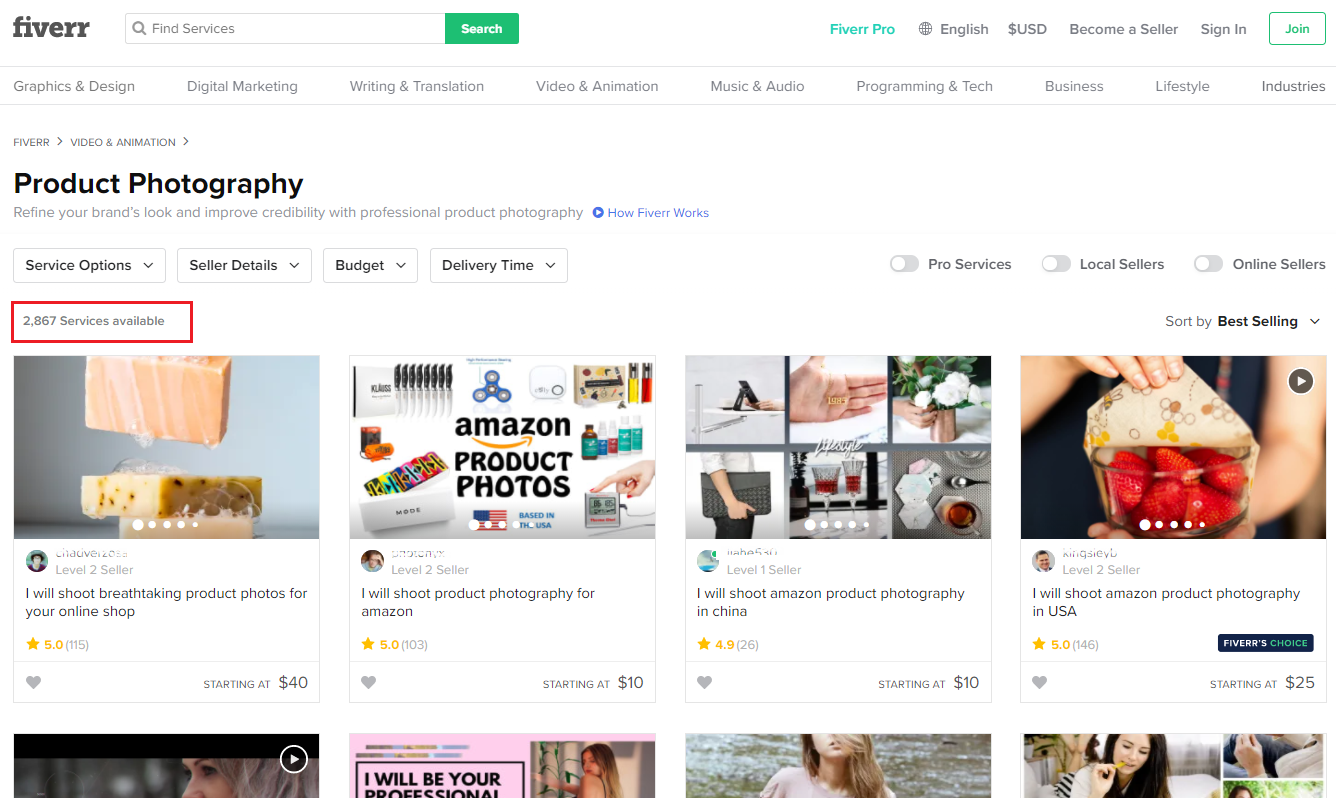
For those who aren’t confident in their photography skills, it may be best to just hire a professional. It will cost you a little extra money, but it will be worth it if you get some really good photos that help you sell your products.
Just make sure to give clear instructions to your photographer about your requirements. You don’t want to end up paying for photos that you can’t use.
Take the Photos Yourself
If you have a quality camera and know how to edit photos you may decide to simply take the photos yourself. If you decide to go this route here are a few tips:
Use a Good Quality Camera: Most camera phones and tablets take decent enough photos and will work in a pinch. But if you’re serious about taking really good photos, invest in a good DSLR camera.
Use Lighting: Make sure the product is properly lit when you photograph it. For smaller products, a lightbox is ideal as it ensures there are no shadows. For larger products, you’ll have to use lights. And if all else fails you can wait for a nice sunny day and shoot outside.
Take Lots of Different Photos: You’ll want photos from multiple angles. Plus, it’s always a good idea to take as many pictures as possible to ensure you get some good ones and don’t need to go through the process again.
Create a White Background: For your main image, you’ll need a pure white background (RGB 255, 255, 255). Even when using a white backdrop you likely won’t end up with a pure white background, so you’ll need to use a program like photoshop to edit this in.
Fill the Frame with Your Image: Remember, your image must take up 85% of the frame. So either zoom in or make sure to crop it during the editing process.
Edit Your Photos: Use editing software to enhance things like color and exposure. Don’t edit it so much that the photo is unrealistic. The goal should be to bring out the colors as much as possible and show your product in the best possible light.
Assuming you have the necessary skills and equipment this is probably your best option as it will give you complete control over the process so you can ensure it’s done right.
You May Not Need to Add Images
Are you selling a product that’s already listed on Amazon? Then chances are you don’t need to worry about product images. Your items will just be added to the existing listing and you’ll be able to use the photos that are already there.
Most brand name products will already have a listing, so make sure to check. You don’t want to go through the trouble of getting photos if you don’t have to.
Uploading Your Images
Once your pictures are ready it’s time to upload them to Amazon so they can be included in your listing.
When creating a new listing you’ll be prompted to upload your images. You’ll be able to upload a total of nine pictures for each product.
If you’d like to upload new images for an existing listing follow these steps:
Log in to your Seller Central account.
Click “Manage Inventory” in the Inventory menu.
Find the product you want to add new images for.
Select “Manage Images” from the drop-down menu.
Click Add Images.
Select the image slot you’d like to upload your image to. You can choose an empty slot or change out an existing photo.
Click the “Browse File” button.
Find and click on the image you want to upload
Click Upload image(s).
Assuming your photos meet Amazon’s requirements they should be approved within a few hours.
Other Tips for Optimizing Your Amazon Listing
A great product image goes a long way towards helping you promote and sell your products, but there are a few other things you should do in order to give yourself the best chance at success:
Include Quality Content
In order to get people to buy your items, you need to inform your customers. When writing your content:
Include everything the buyer needs to know about the product. You don’t want to write too much, but make sure any potential questions are answered.
Highlight the benefits of the product. Explain how it can make someone’s life easier or better.
Break up your paragraphs and use lots of sub-headings to make your content easier to read.
Answer People’s Questions
Amazon gives customers the opportunity to ask questions about a product. Make sure to provide answers as soon as questions are submitted. Your answers will appear on your listing and provide customers with even more information about your product.
Include Keywords
If you want to show up in Amazon’s search results you’ll need to make sure to include keywords throughout your listing. This lets Amazon know what type of product you’re selling and which searches your listing should show up in.
Be sure to include keywords in the following places:
Your product title. Use your primary keyword here.
Your product description. Use this section to include other relevant keywords.
The backend. Amazon lets you submit backend keywords for your listing so make sure to take advantage of this.
Do some keyword research to find the best keywords to use for your products. AMZScout offers several Amazon keyword tools that can help with this.
Amazon Keyword Search: Type your product into the Amazon Keyword Search tool to get a list of all the keywords related to it.
Reverse ASIN Lookup: If your item is already listed on Amazon enter its ASIN number into the Reverse ASIN Lookup tool to get all the keywords other sellers are using to promote it.
Keyword Tracker: Once your keywords have been added to your listing use the Keyword Tracker to track how you’re ranking for each keyword.
By using the right images and the right keywords you’ll be well on your way to being a successful FBA seller.
Conclusion
Don’t underestimate the importance of Amazon product photography. It’s a key part of marketing your product. Luckily, getting quality images for your listings is easy once you know all the requirements. If you follow the steps above you should have no trouble getting beautiful images for your Amazon products.

