How to Create an Amazon Storefront to Improve Your Brand Selling
When you start selling on Amazon, you might wonder if your buyers can see all of your Amazon items in one place at once. Well, they can! This article will show you how easy it is.
Table of contents
What Is an Amazon Storefront?
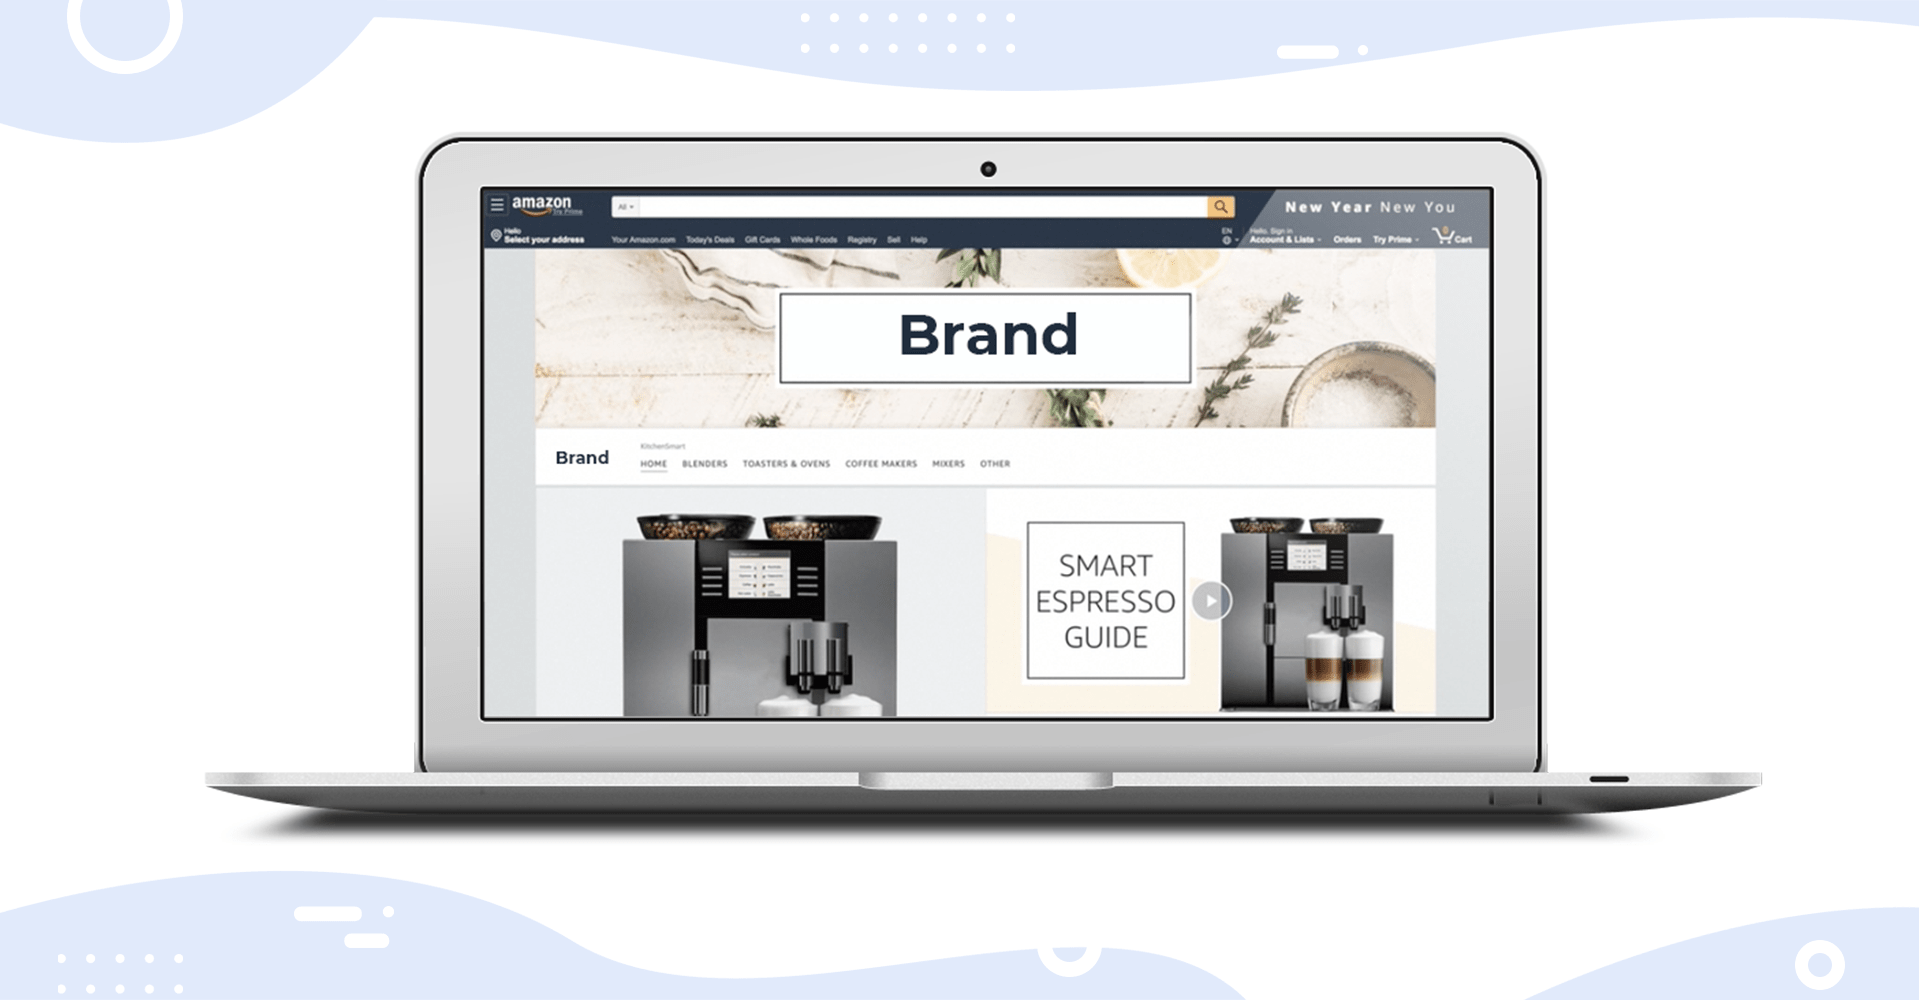
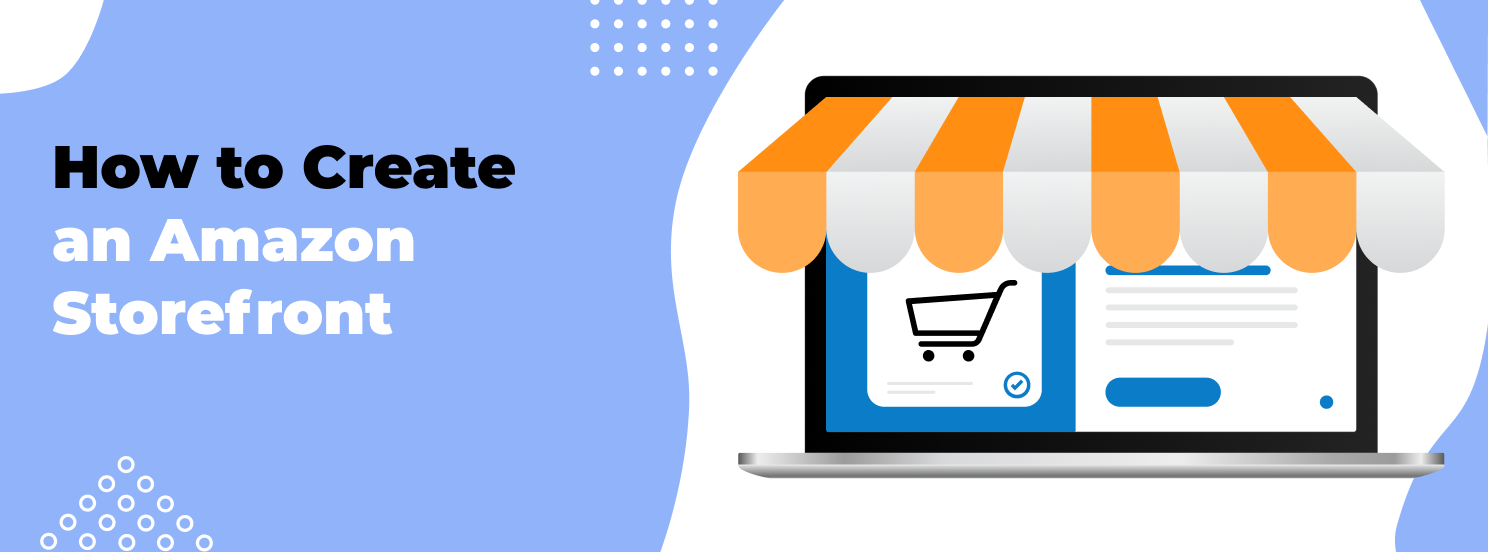
Amazon Storefront is actually your own eCommerce space on Amazon that looks like its own, small, separate website. Since you can brand your storefront to model after your product, it has a different look from standard Amazon pages, but still allows you to sell through Amazon. Setting up this feature creates a space where users can enjoy a better shopping experience and you can foster greater loyalty.
Here are the benefits of owning an Amazon Storefront:
Keeping your product marketing creative. Creativity attracts more customers than just selling your products. Showcase your items conveniently so they’re easy to recognize — you can be trendy, funny, or classic. Create your own brand just like it’s your own private website.
Drawing more visitors to your listings. Once they reach a well-organized product page with a convenient choice, people tend to check out other items similar to the one they viewed, so your product page’s open rate will grow. Place related products on the same page so people can access them easily, which allows customers to see more of your listings.
Being recognizable. Whether you’re on Amazon or elsewhere, people prefer buying brand-name products (and small lesser known brands count as well!) Amazon Storefront enables you to build your own recognizable brand using specific colors, fonts, and products. With a bright “Amazon-based website”, more customers will remember your brand, link it to your product quality, and return to buy more.
Steps Before Building Your Amazon Storefront
Opening a Storefront with no products doesn’t make too much sense unless you intend to have an influencer Storefront. That’s why before bringing your Storefront to life, you have to ensure that you have the products you plan to sell and that you know how.
Here are the steps you need to follow:
1. Choose a Product to Sell
When searching for your private label product, use AMZScout Tools. AMZScout Product Database and PRO Extension are a must when you start selling on Amazon. Here’s a short guide on how you can achieve great results using these tools:
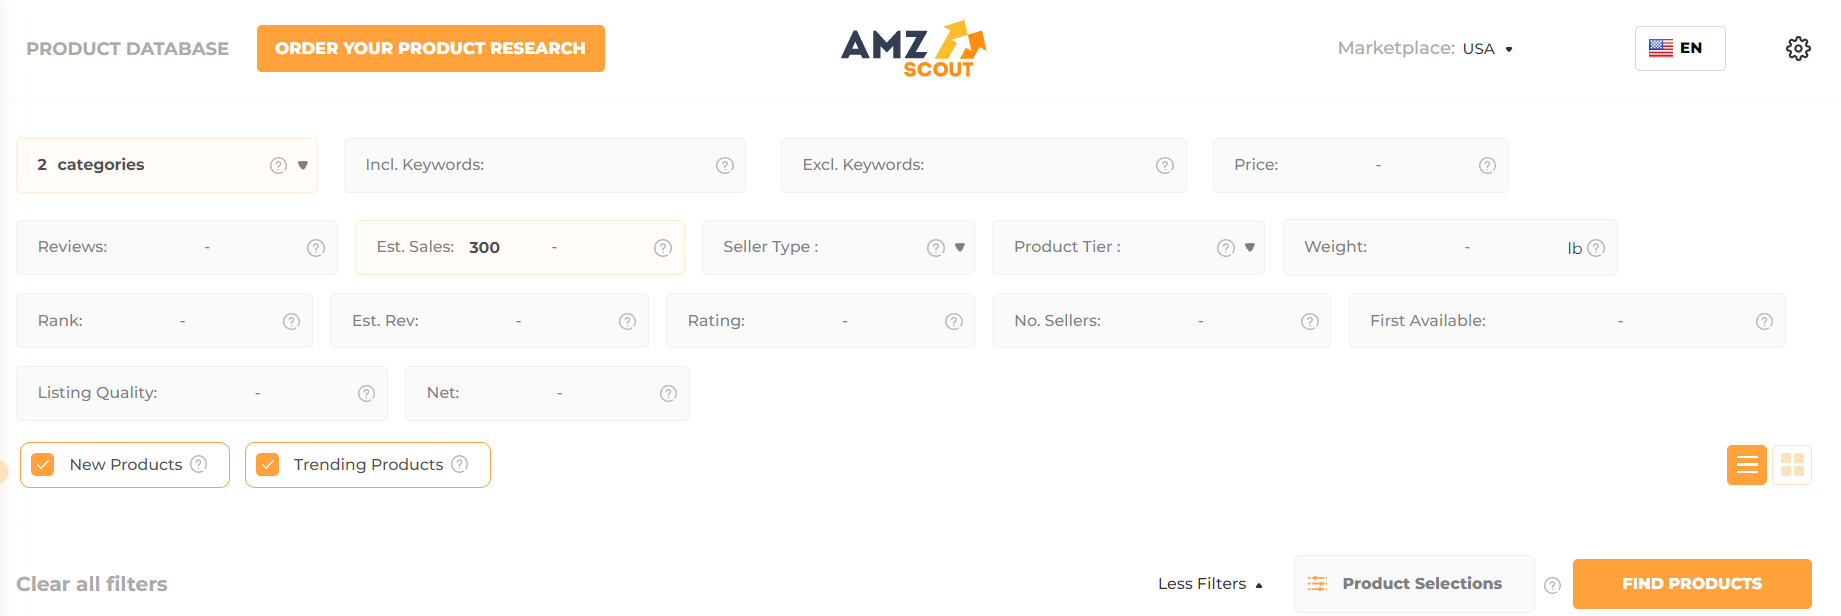
Step 1. Go to the AMZScout Product Database and find the best private-label products using the sales filter. Search for products with sales greater than 300 per month.
Step 2. Use the category filters to narrow your search and focus on the types of products you want to sell. The Trending Products checkbox lets you focus on products that have grown significantly over three months.
Step 3: Click “Find products”. Select the options you are interested in.
Step 4: Go to Amazon and find these products.
Step 5: Install the AMZScout PRO Extension and open it on the results page or product page.
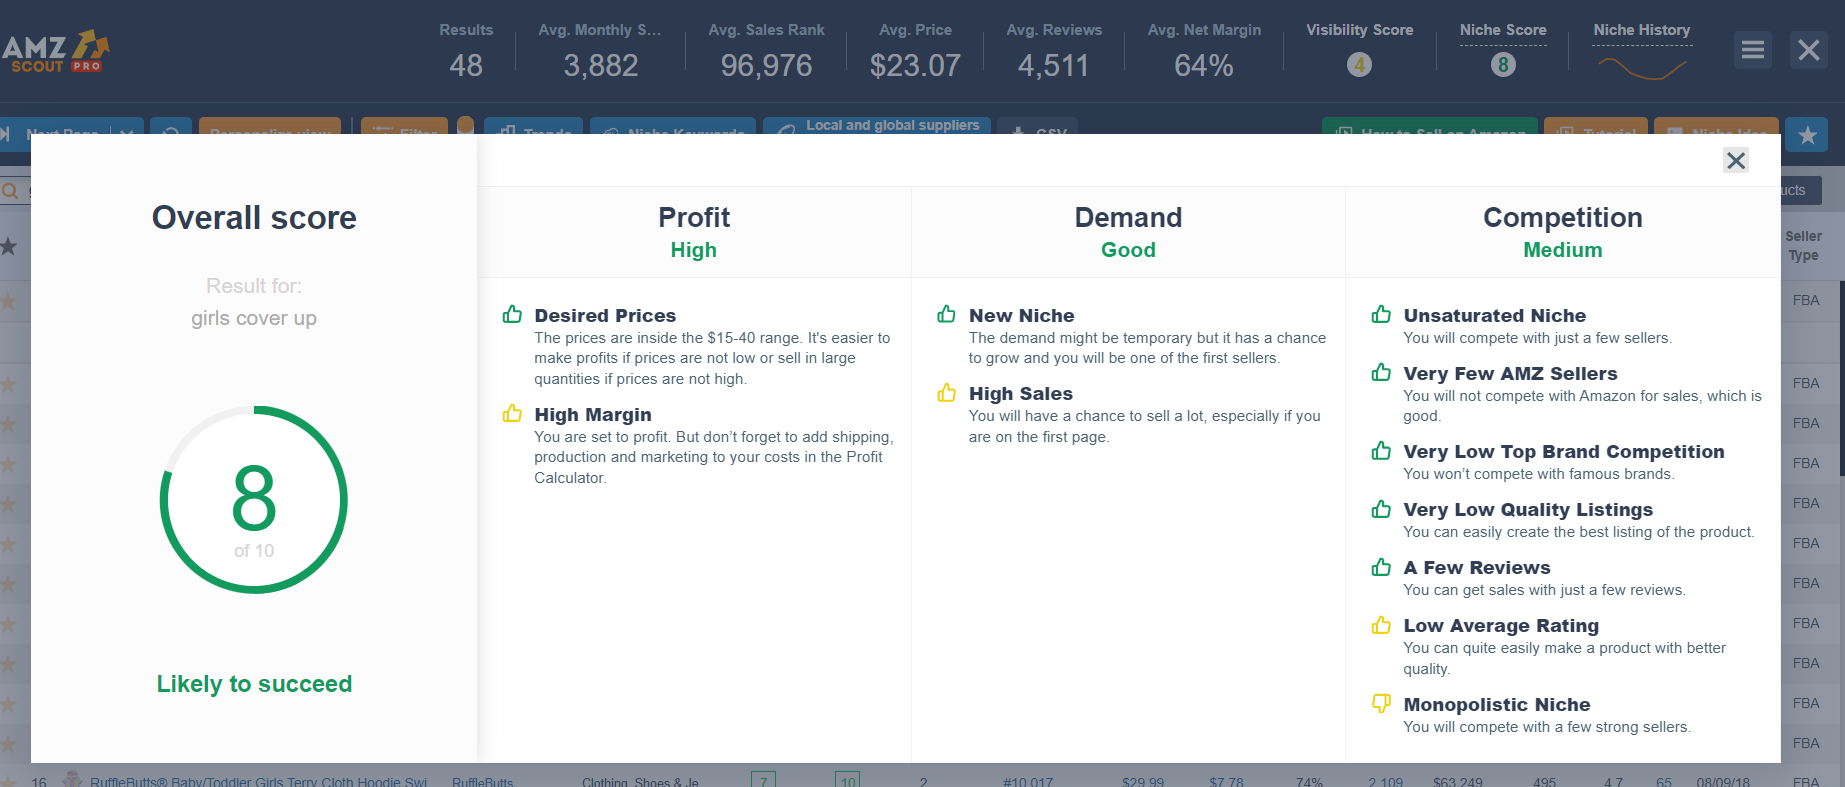
Step 6: Check the product and niche viability. Click Niche Score to view how the niche has performed in the past. This score is out of 10 and analyzes the niche based on competition and demand. You can also look at individual products by clicking Product Score next to any product you want.
Once you choose a profitable private-label product to sell, you’re halfway toward your selling goal. Use these tools to analyze market trends in-depth and ensure great sales in the future.

2. Log in to Your Amazon Account or Create a New One if You’re a New Amazon Seller
If you have an Amazon seller account already, just log in. If you’re just starting, sign up with your business email or use an Amazon customer account instead. In this case, just use your login and password.
Remember that in order to set up a new seller account, you have to own an internationally chargeable credit card, and provide your ID card and tax documents, phone number, and bank details. You can start selling with your customer account as well. However, having a separate one for business is more convenient.
3. Enroll in the Amazon Brand Registry
If you are going to sell your own brand items on Amazon, you might wonder how you can protect your brand from intellectual property infringements. Manually going through thousands of lists to look for potential threats is pointless. The solution is to enroll your brand in the Amazon brand registry.
This program not only offers automated infringement protection but also allows brand registry support and helps with content management so you can enjoy a seamless client experience.
How to Create an Amazon Storefront
Once you’ve chosen your products, and created your brand, you are ready to build your first Store on Amazon. Here, you will find easy steps on creating your own Amazon Storefront.
1. Go to the Seller central dashboard and click “Stores”.
The submenu is at the upper tab of your page, right between Advertising and Reports.
2. Build your store in the Store Builder.
Next, go to Store Builder to create your store. Create the initial page, and add your brand info such as logo, display name, and tags. If you already have one or more Storefronts, you will see the list of available and related pages here.
3. Create your own design.
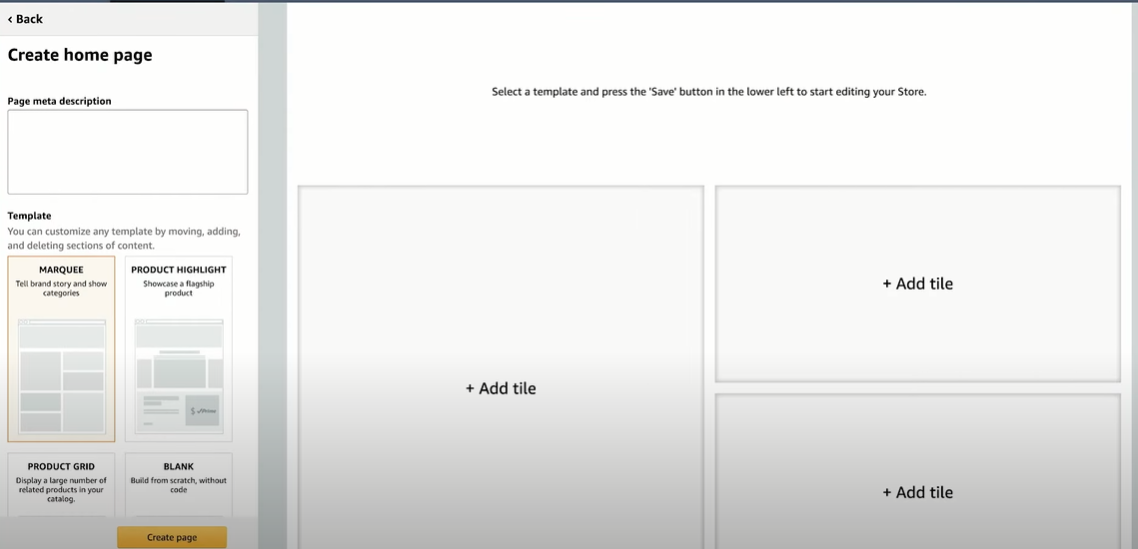
In this step, you can build your Home page, provide a meta description, and choose the initial design model of your Storefront. Plan a design, choose one of the offered templates, or create your Storefront from scratch. This opportunity allows you to be creative and differentiate from your competitors. Keep in mind it should be convenient for use with the Amazon app as well.
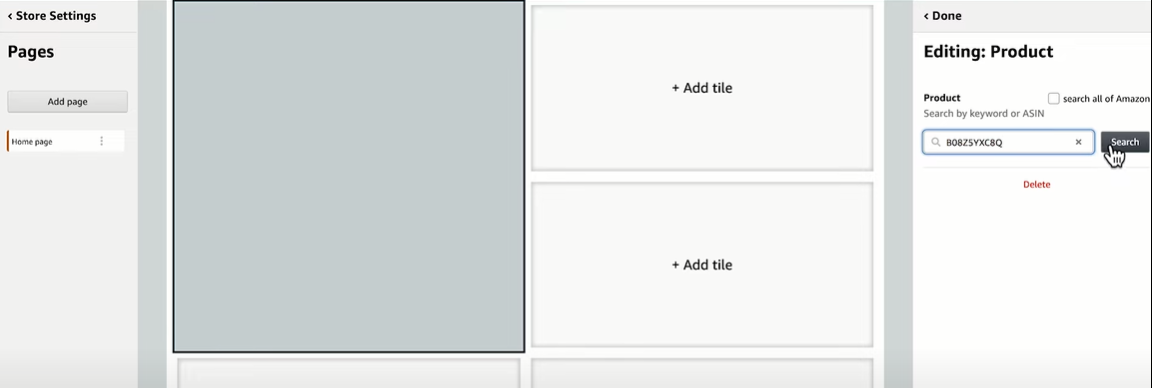
Amazon offers an easy-to-use website constructor here, so you can build your page intuitively, and see how it looks, right away. In the first step, add a header image that reflects the feel of your brand. This is the first thing that your customers will see, so choose what you include here wisely. Next, add other blocks to fill your website. The elements that can be added are:
Product cards
Images
Images with text
Text only
Videos and background videos
The first one to be created is a Homepage. Later, you will be able to create more pages, so put only the most important items and values here. If you are not sure what to add first, ask someone similar to your audience, it always works!
4. Add your products.
Before setting up the product grid and adding your products to your store front, make sure you have added them to the Inventory section of Seller Central. If you are going to sell products that already exist on Amazon, just search for them in the Search field. This is important for FBA sellers and others who ship by themselves.
Think about your product positioning to build a perfect landing page. Amazon lets you split the page up into as many sectors as you need, so all you have to do is to thoroughly plan which items should be seen (and bought!) first, and how to find the positioning that will work perfectly.
5. Submit and launch your storefront.
When all is done, push the Submit for publishing button. In 24 hours, you will get approval from Amazon, and your customers will see your products.
6. Promote your store.
There are many ways to start selling quickly, from SEO optimization to straight website sharing. Start with promoting your website on other resources, in your emails, and on social media so you can invite people to click the link and visit your Storefront.
Follow Trends That Big Players Use
Here, we’ve collected a few examples of how to make perfect Amazon Storefronts.
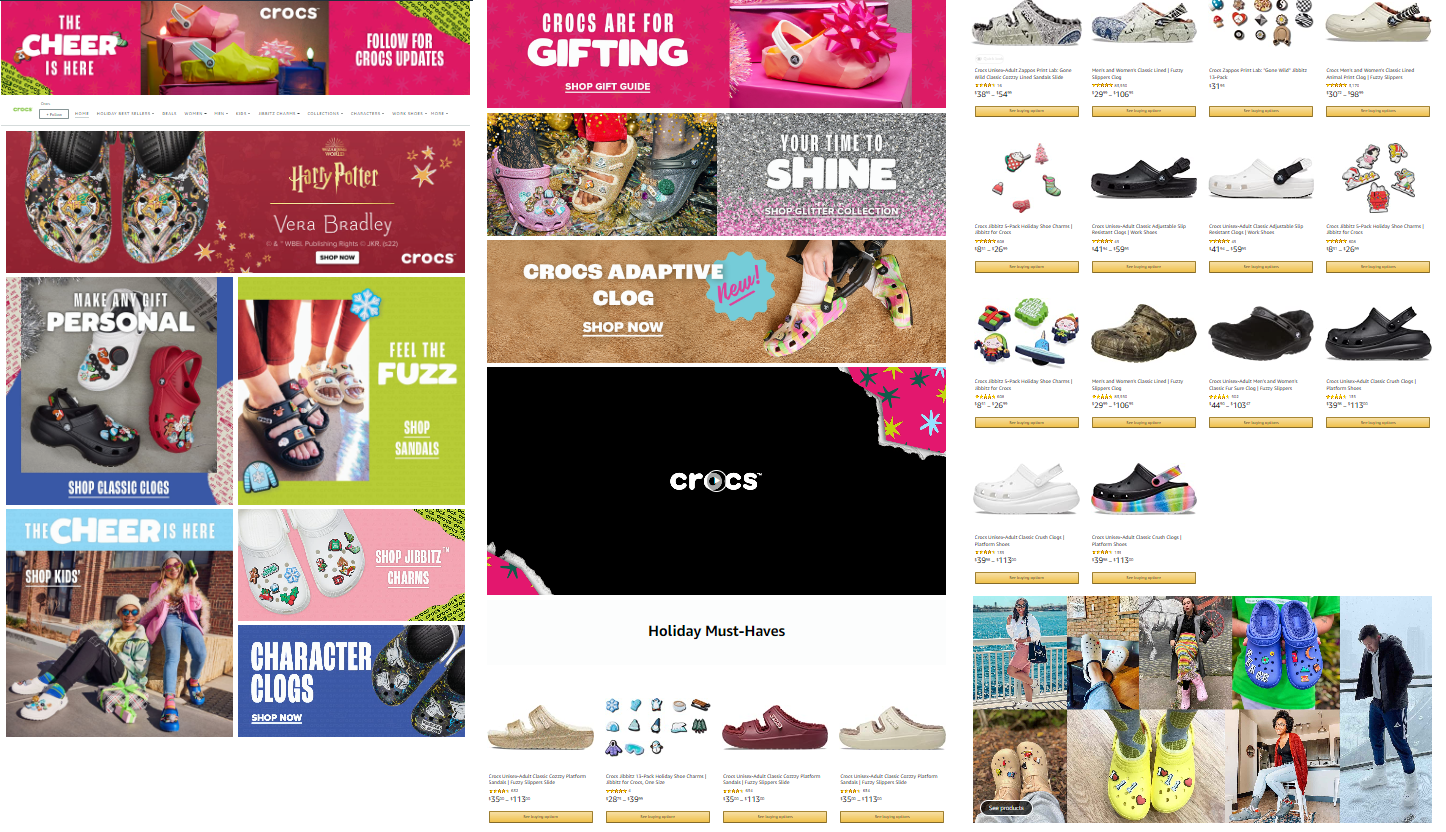
Crocs
An inspiring header image invites visitors to take an action leading clients to greater loyalty. Here, you can find Crocs’s categories placed conveniently, the best offer packs, and separate products. Everything here is Bright, user-friendly, and in line with Crocs’s branding.
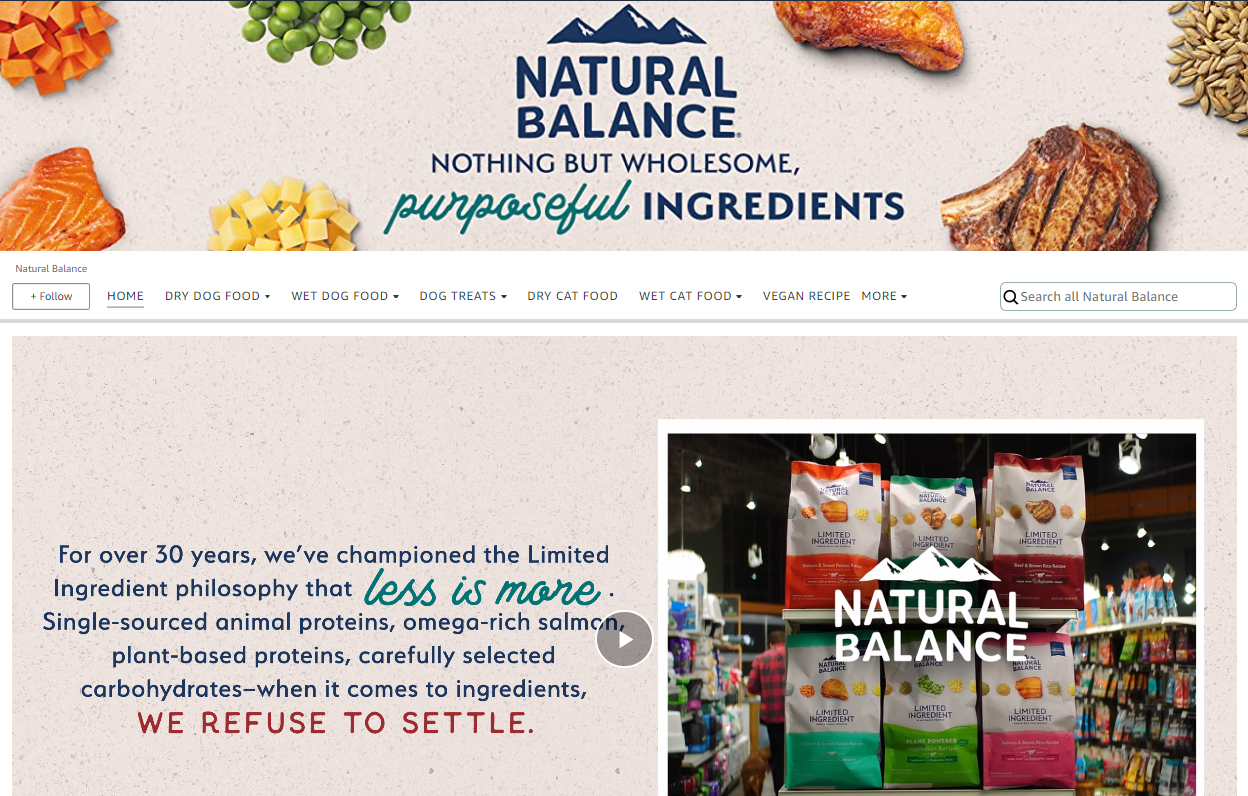
Natural Balance
Noticed that short note full of NB’s values for the client? Check out how the company offers its product categories highlighted with great images and in the right order.
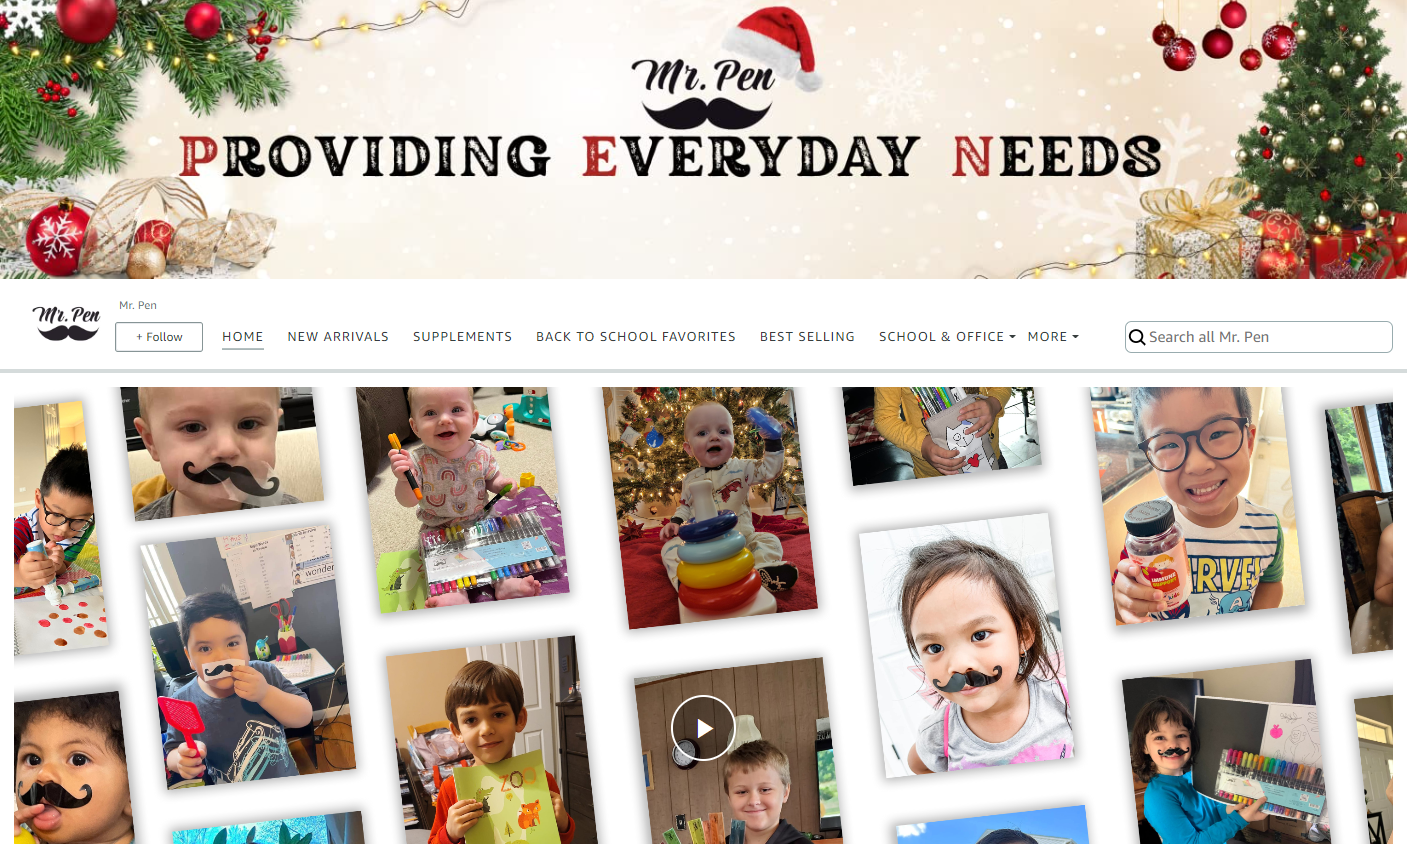
Mr. Pen
Mr. Pen has chosen to use a strategy of adding a video with their happy customers first. Even those who hesitate are likely to feel positive about buying from them after seeing these happy faces.
The most important things that you’ll notice are a user-friendly menu with categories, reflecting clients’ values through images, words, or videos, and then showing the main categories from which to choose. Obviously, there are no specific requirements, but you can learn from those who successfully sell through the Storefront already.
FAQs
What's the difference between a seller’s storefront and an influencer storefront?
The difference between the two is, basically, whether you’re actually selling items or just promoting them. Seller’s Storefront aims to show your brand’s products and sell them. An influencer storefront is created mostly to promote affiliate products, share ideas, and create checklists and other useful content. The sellers are usually enrolled in Brand Registry, while influencers are not.
How to find someone's Amazon Storefront?
All you have to do to find someone’s Amazon Storefront is to visit the Amazon homepage and search for the brand in the Search bar. If the brand owns a Storefront, you will be able to see it by clicking on the brand’s logo appearing before all the items are found. This is available both on the Amazon desktop and in the app.
Conclusion
Building your Amazon Storefront is easy! Without too much effort, you can get increased client loyalty, higher sales, and great brand awareness. Start building your own Storefront now, while your competitors are still thinking about where to start, and outsell your competition.


